Mar 09, 2026
How To Install Fake Turf or Synthetic Turf
Table of Contents
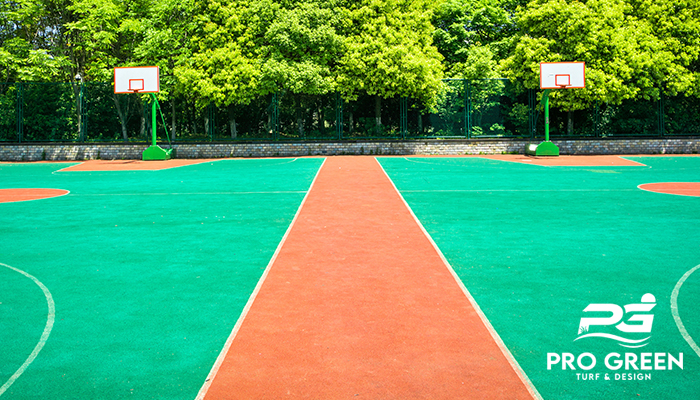
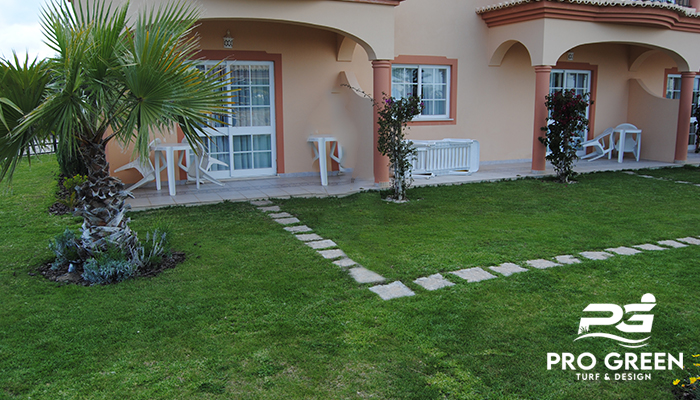
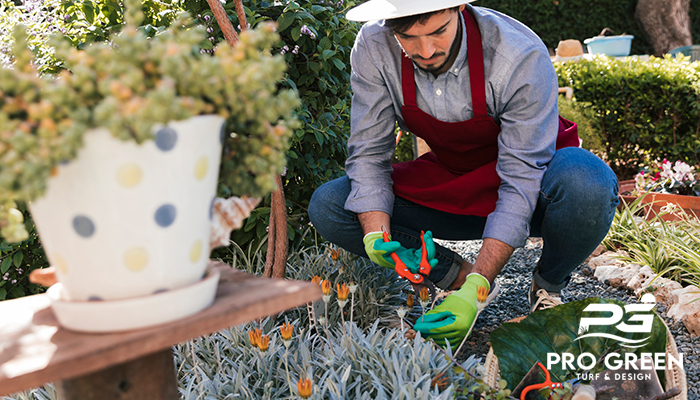
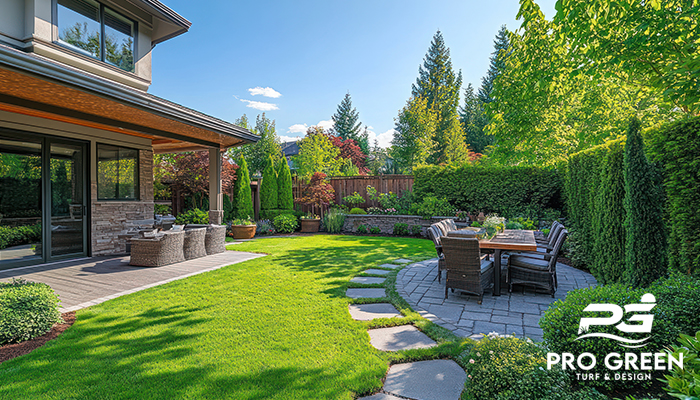
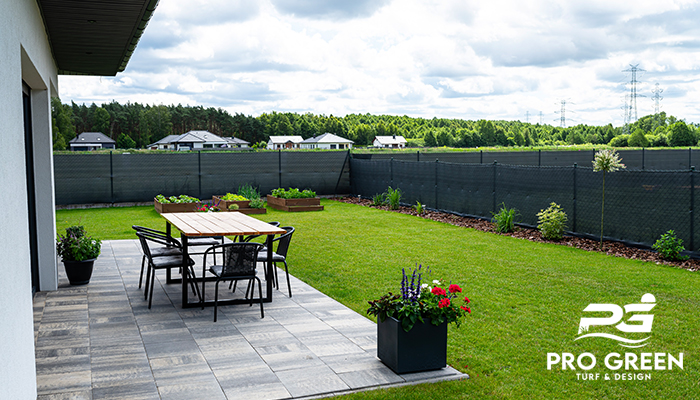
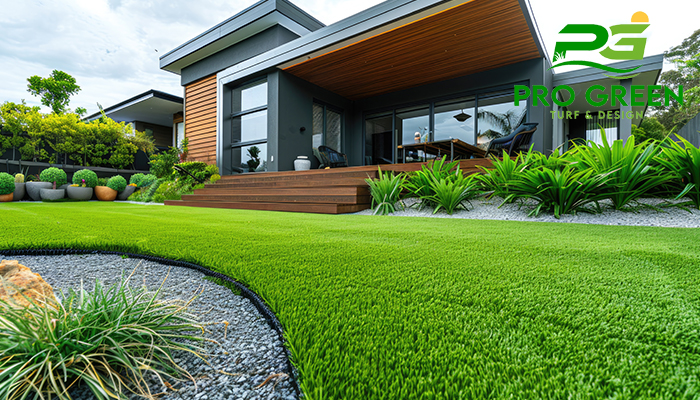
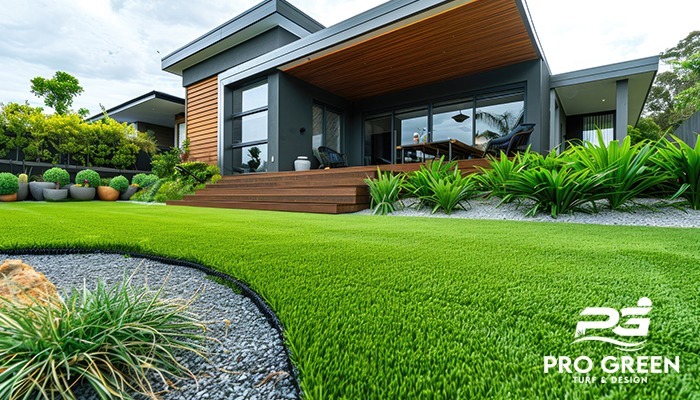
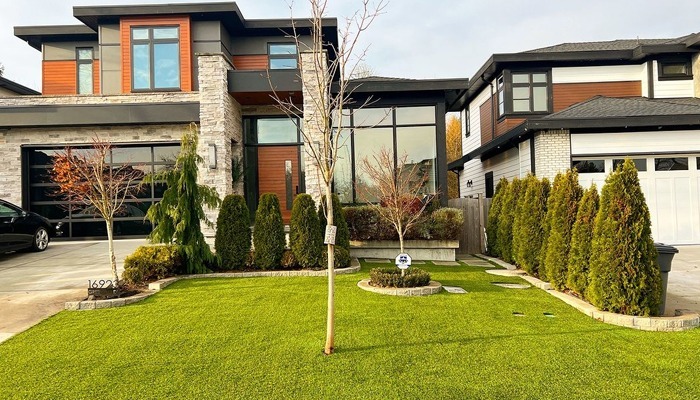
Synthetic turf is becoming an increasingly popular choice for homeowners, schools, sports fields, and commercial spaces. It looks full, green and lush year-round, drains well, requires no mowing, and doesn’t rely on water or sunlight to thrive. But you can go wrong with turf. A lot depends on the quality of the turf and how well it was installed, so it looks natural rather than cheap, and lasts.
Here’s a complete look at how professionals install synthetic turf and why each step matters.
Planning and Site Assessment
Installing fake turf begins long before turf rolls touch the ground. The process starts with planning. A trained installer arrives to assess the site. They look at slope, drainage, soil condition, sun exposure, and how the space will be used. Will children play there? Will pets run on it? Does the area get heavy rain? This assessment ensures the surface is prepared correctly.
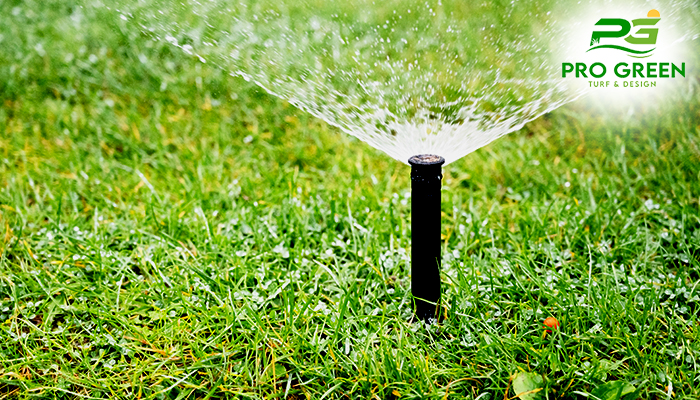
Proper Grading and Drainage
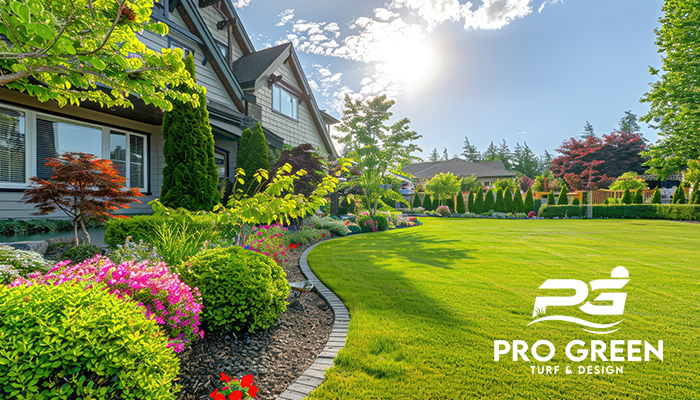
Good drainage is one of the biggest reasons synthetic turf performs well. Water should never pool on the surface, even after heavy rain. Professionals shape the base, so water flows away from structures and toward designated drains or landscape features. Grading also ensures the lawn will feel comfortable underfoot.
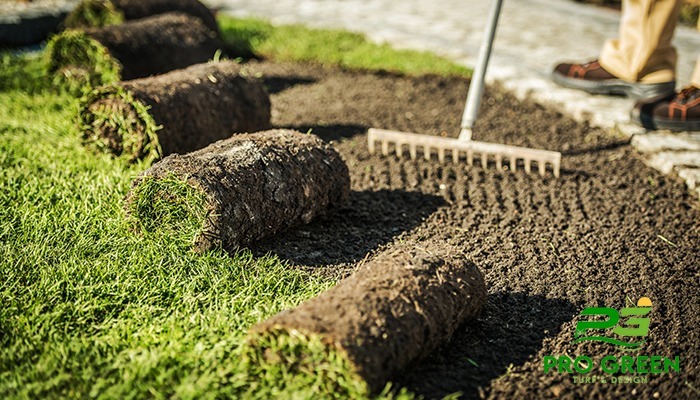
Building the Base Layer
After grading, the next step is creating a strong base. Most professionals use layers of crushed stone or gravel. This base acts as a stable foundation that prevents shifting and compaction. The materials are spread and compacted in stages. Each layer is flattened using special equipment. A solid base keeps the turf level and long-lasting, and it helps manage water movement below the surface. This step takes experience and precision because a poor base is one of the most common causes of turf failure.
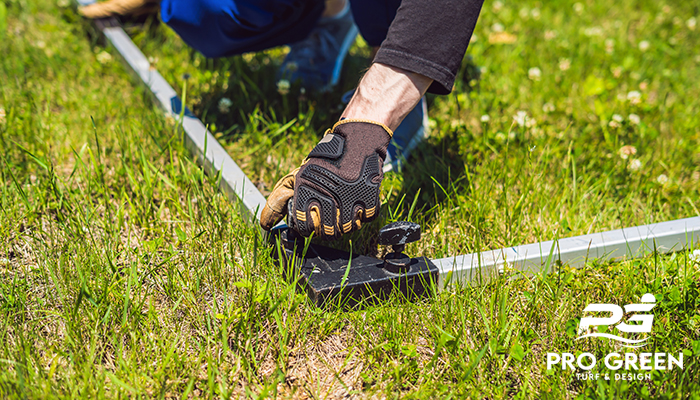
Installing Edging and Borders
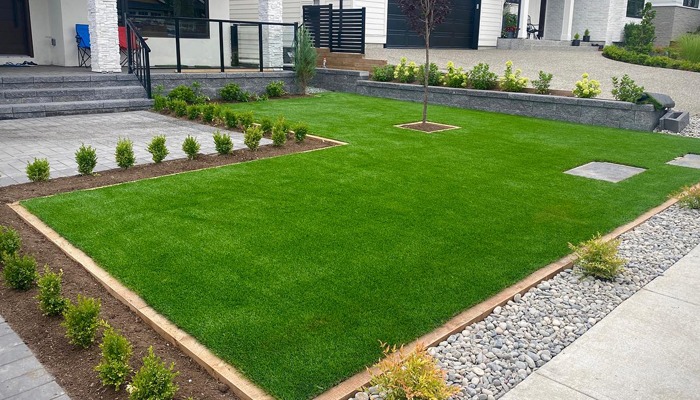
Before laying turf, installers secure the perimeter. Edging materials, such as metal, wood, plastic, or stone, form strong boundaries around the installation. These borders keep the turf in place and create a finished look.
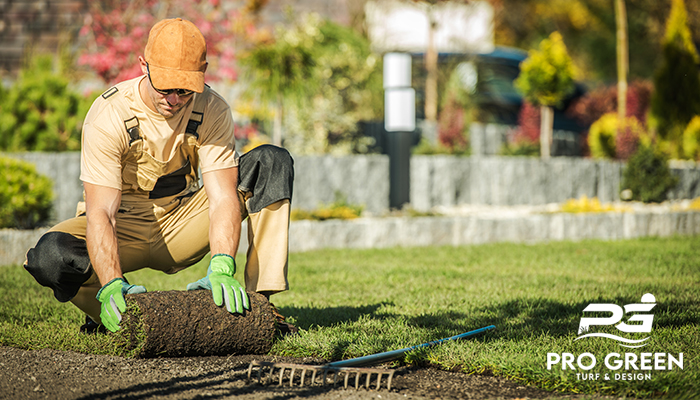
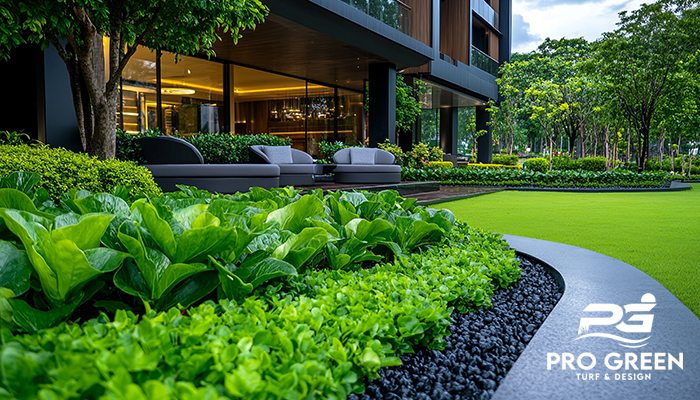
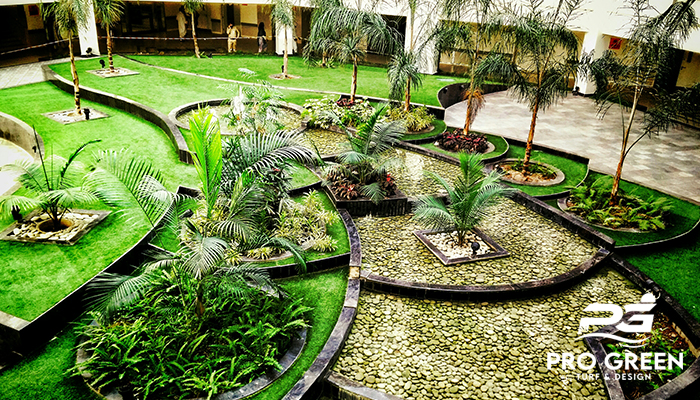
Laying the Artificial Turf
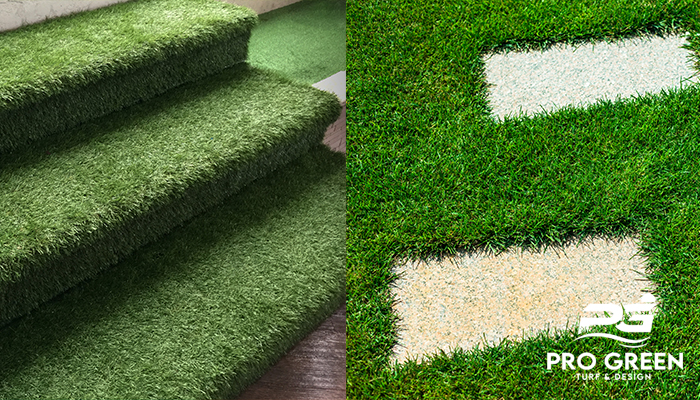
Once the base and borders are ready, the turf rolls are brought in. Professionals unroll and align the synthetic grass so that the blades face the same direction. This creates uniform texture and consistent colour across the lawn. Panels are cut precisely to fit curves, corners, and edges. Next, seams are secured where multiple turf panels meet to prevent separation later. The turf edges are professionally anchored to keep them in place.
The last step is adding infill, like sand, rubber granules, or a mix, to keep the turf standing upright, improve stability, and provide support underfoot. Then, brushing the turf with professional power brooms to ensure a lush, natural look.
A professional installation always ends with a final inspection to ensure there are no loose edges or uneven surfaces. Then the site is cleaned so you can enjoy your new lawn.
Why Professional Installation Matters
Synthetic turf might look like a simple weekend DIY project, but installing it correctly requires skill, equipment, and experience. A poorly installed lawn may develop bumps, create drainage problems, or cause loose seams over time. Professional installers prevent these issues by following each step with precision.
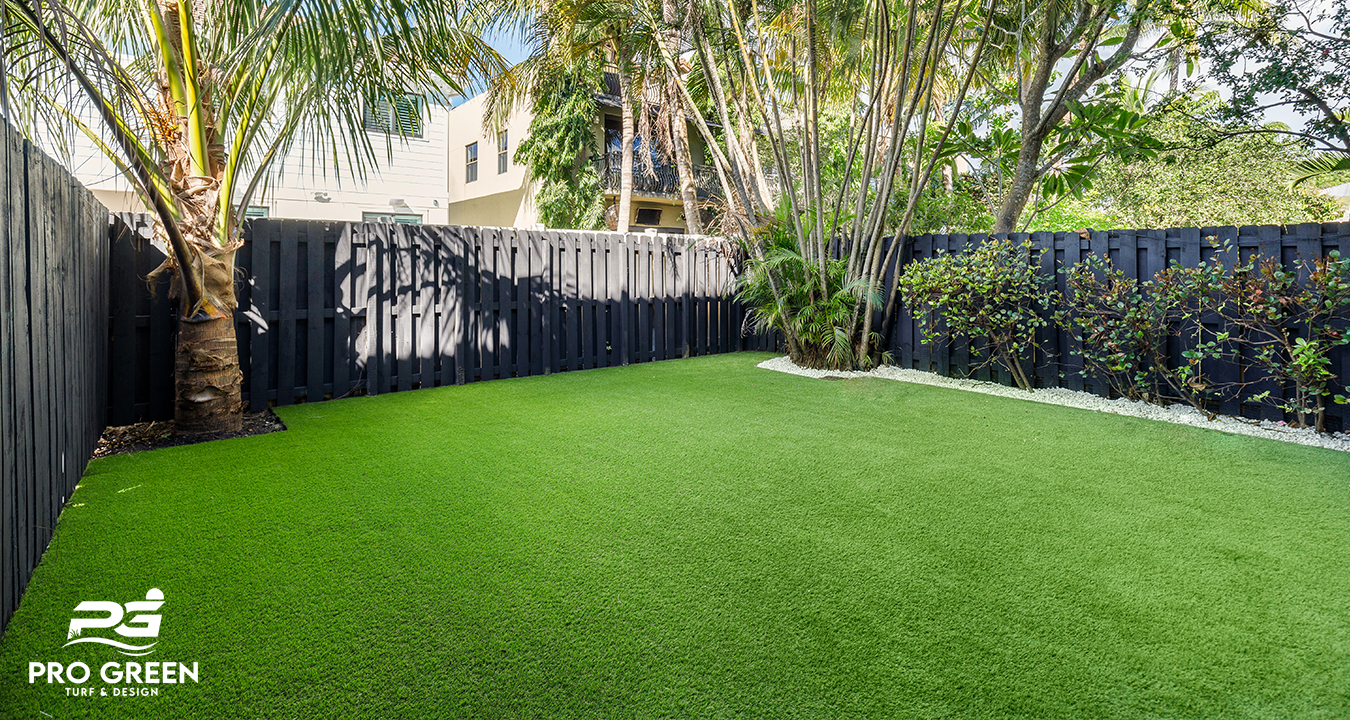
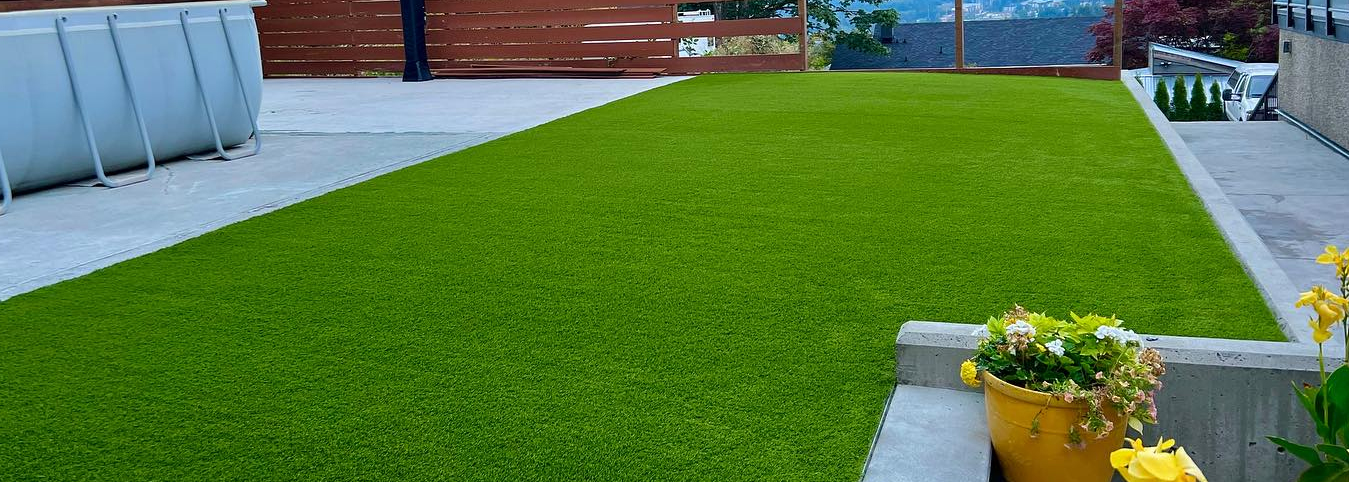
Professionally installed synthetic turf feels comfortable, drains well, and lasts many years with minimal maintenance. At Pro Green Turf and Design, we provide high-quality synthetic turf installation that blends performance, durability, and beauty. From planning and preparation to final inspection, our expert team ensures your turf feels natural, functions well, and enhances your outdoor space for years to come!

Affordable Turf Installation Langley Residents Can Count On!
The city of Langley is hustling, bustling, and growing as more and more people are calling it home, and businesses of different kinds have been popping up to accommodate and serve this growing populat...